¿Cuáles son las ventajas de la TC industrial en comparación con los productos tradicionales?
For most people, CT probably refers to CT technology in medical disciplines. In fact, the application of CT has already extended to the industrial measurement industry. With the transformation of industrial measurement from external traditional measurement to internal non-destructive analysis and full-scale measurement, industrial CT technology came into being.
In recent years, industrial CT has been praised as the trend of future measurement technology with its powerful detection technology and gradually wide application range. Industrial CT refers to industrial computed tomography imaging, which can clearly, accurately and intuitively display the internal structure, composition, Material and defect condition. The basic principle is based on the attenuation and absorption characteristics of radiation in the detected object. The absorption capacity of the same substance to radiation is related to the properties of the substance. Therefore, using the X-rays or γ-rays with a certain energy and intensity emitted by radionuclides or other radiation sources, the attenuation law and distribution in the detected object, it is possible to obtain detailed information inside the object from the detector array. The information is then displayed in the form of images using computer information processing and image reconstruction techniques.
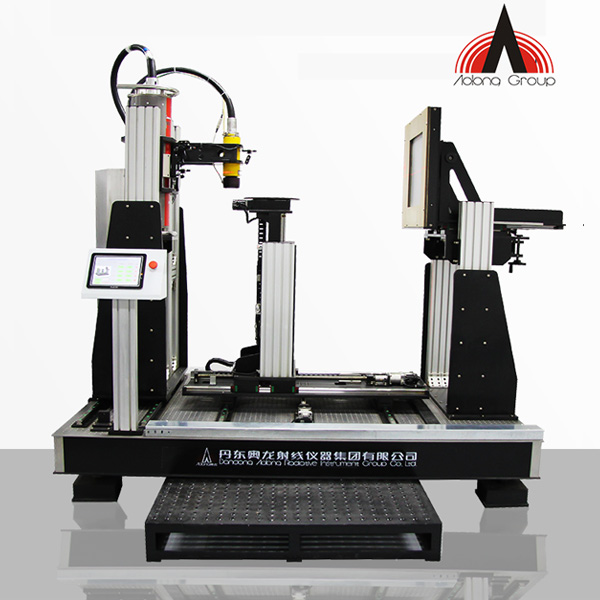
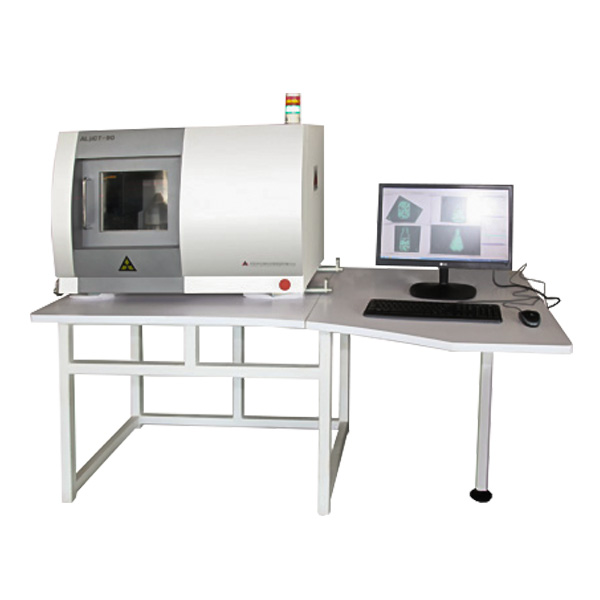
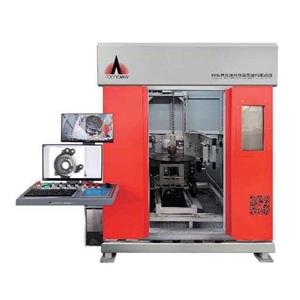
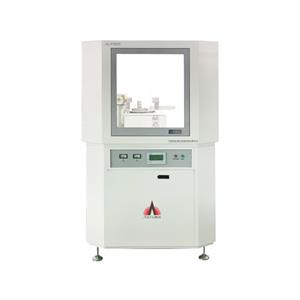
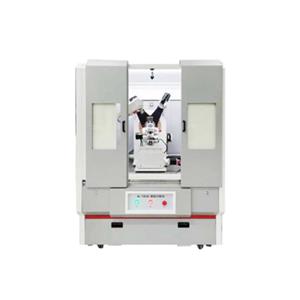
Aolong Group is not only a professional developer and manufacturer of radiographic equipment and material testing instruments, but also a supplier of testing instrument application solutions. Our industrial CT products are: Industrial Computer Tomography CT Radiography System, Industrial NDT Radiographic Testing RT, X-ray micro focus CT industrial NDT inspection System, Industrial Digital Radiography X Ray Ct Scan
Industrial CT has powerful advantages:
▲Accurate positioning, the image is easier to identify
Conventional ray detection technology mainly projects a three-dimensional object onto a two-dimensional plane, which is easy to cause the superposition of image information. If you want to obtain the information on the image, it is very difficult to accurately locate and quantitatively measure the target without experience. When detecting the workpiece, it can give two-dimensional or three-dimensional images, the target to be measured will not be blocked by the surrounding details, and the obtained image is very easy to identify. The specific spatial position, shape and size information of the target feature can be directly obtained from the image.
▲Higher density resolution
It has outstanding density resolution capability, and the density resolution of high-quality CT images can even reach 0.3%, which is at least an order of magnitude higher than that of conventional non-destructive testing techniques.
▲High dynamic response range
Using high-performance detectors, the dynamic response range of the detectors can reach more than 106, which is much higher than that of film and image intensifiers.
▲Images are easier to store, transmit, analyze and process
Due to the intuitive image, the grayscale of the image corresponds to the material, geometric structure, composition and density characteristics of the workpiece, not only the shape, position and size of the defect can be obtained, but also the nature of the defect can be determined by combining the density analysis technology, so that the long-term There is a more direct solution to the problems of spatial positioning of defects, depth quantification and comprehensive qualitative problems that have plagued non-destructive testing personnel.
